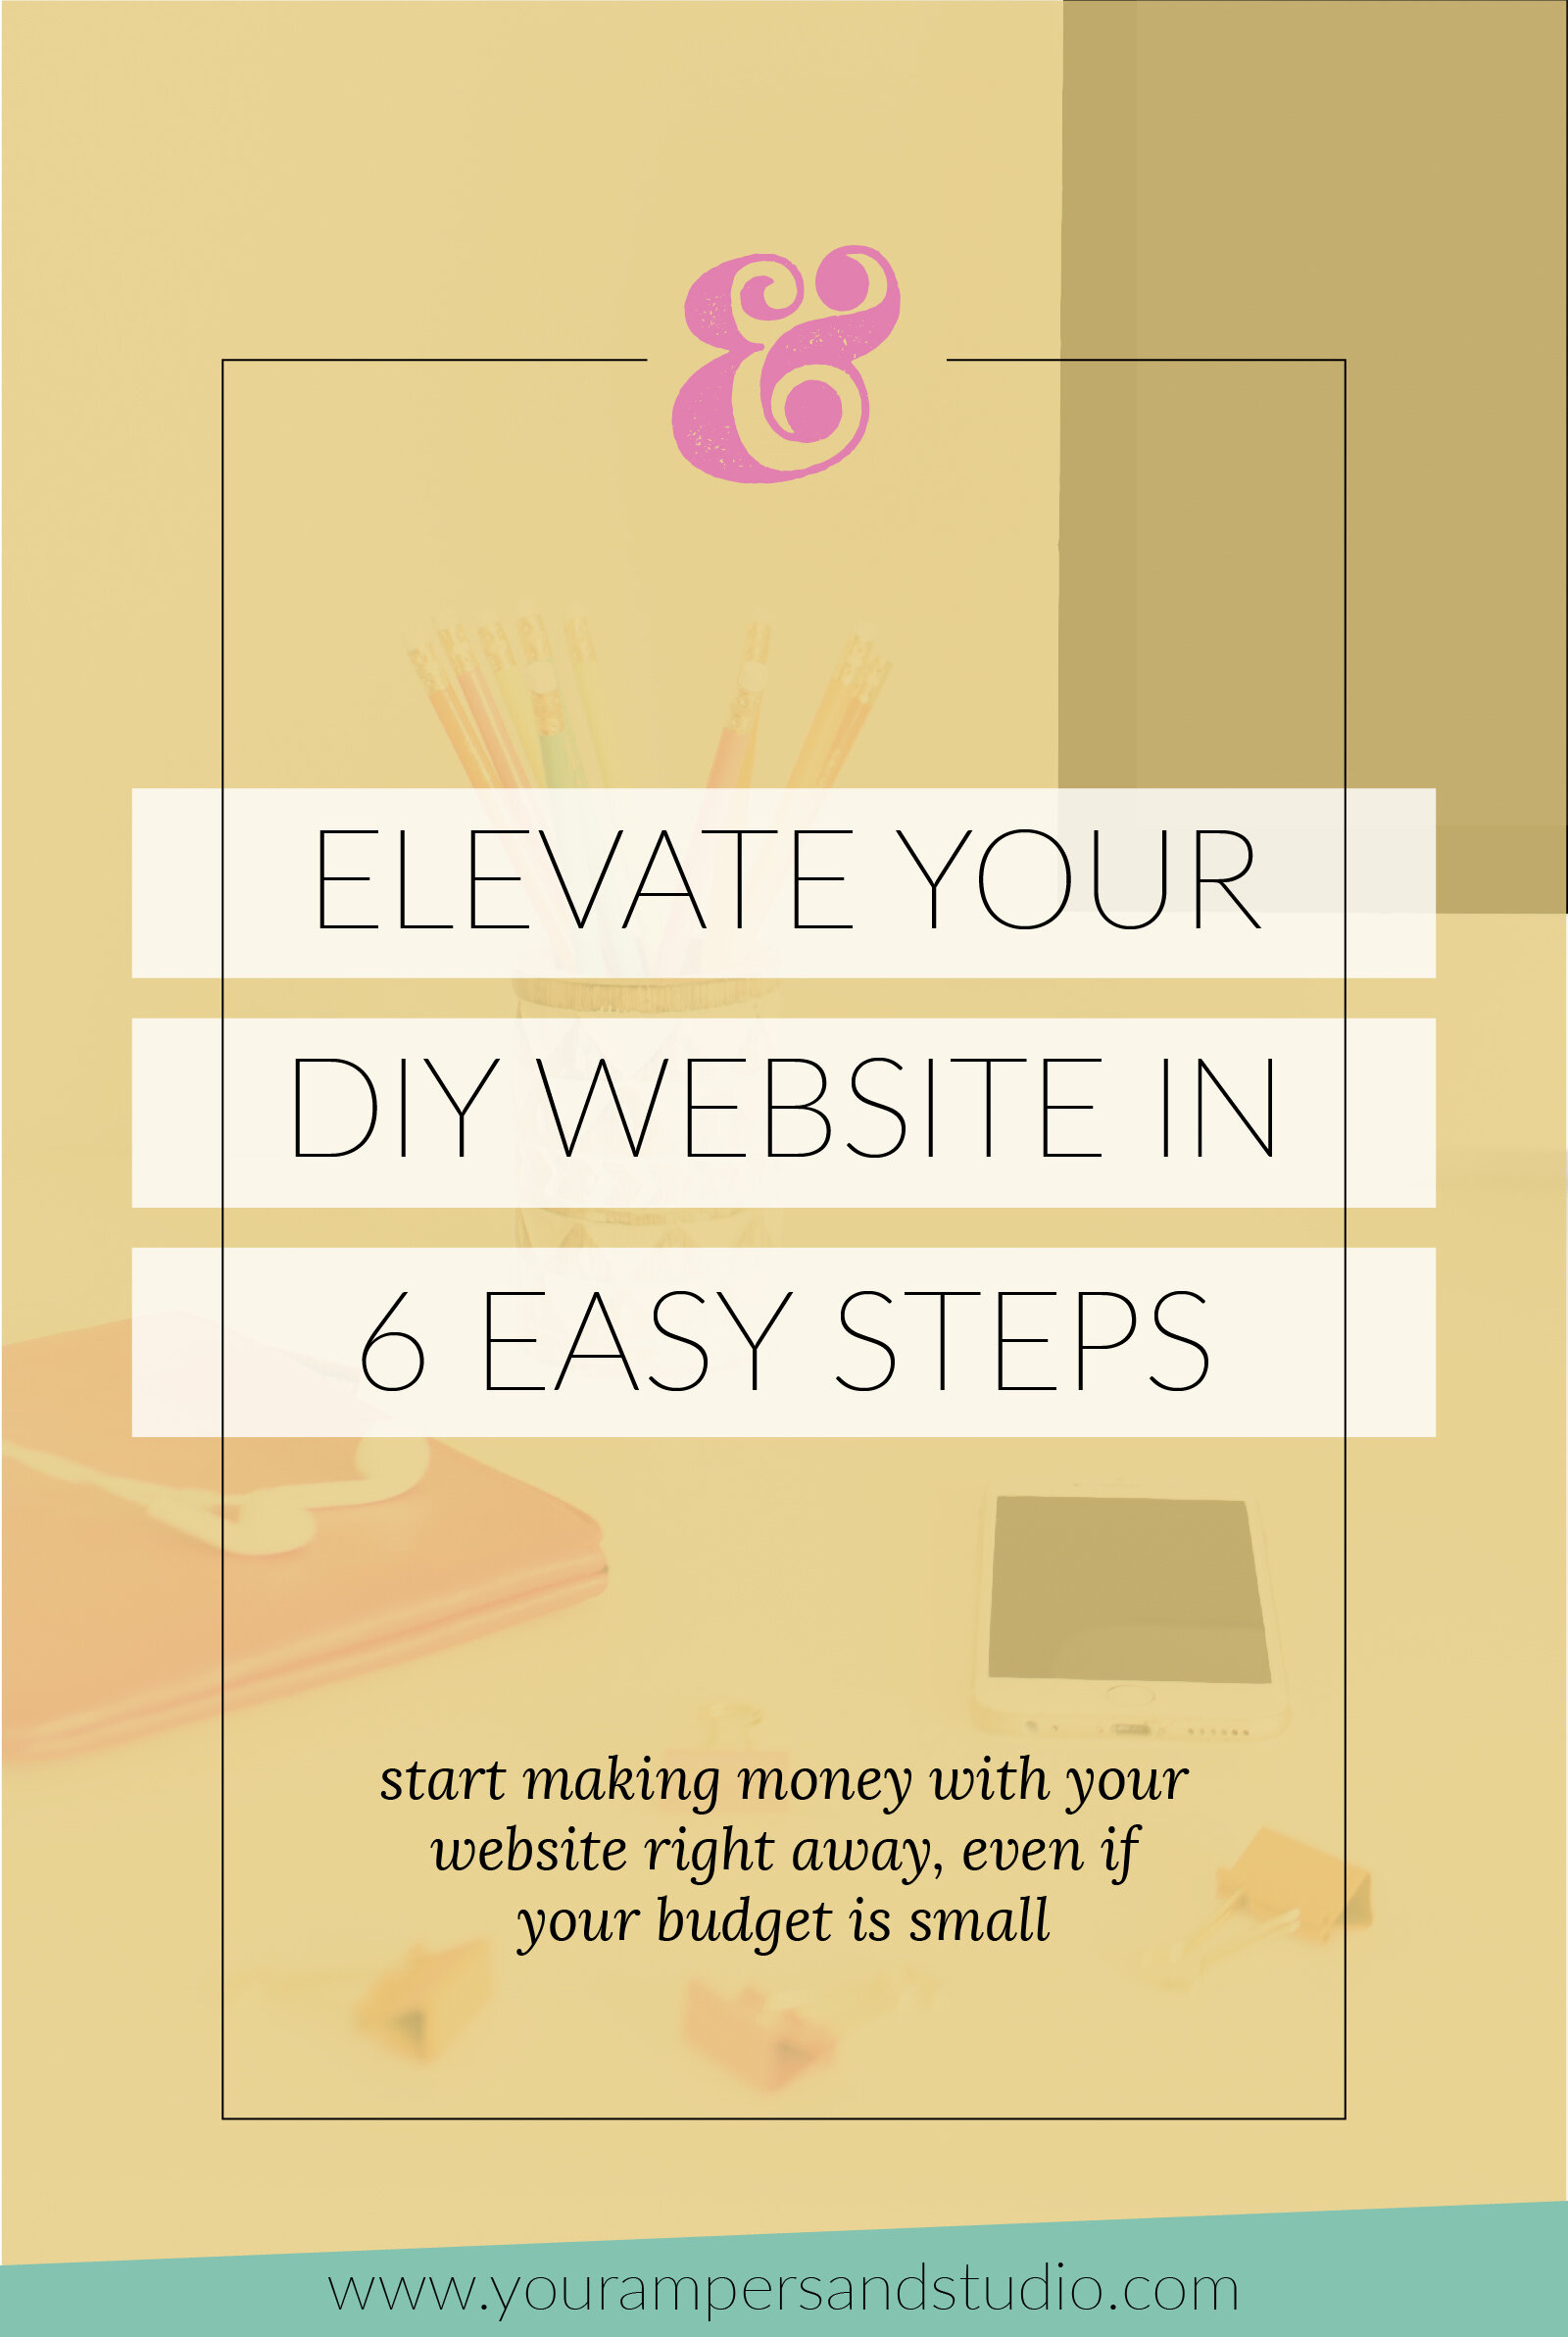
Elevate Your DIY Website in 6 Easy Steps
When you’re just starting your business, there are a lot of things to consider investing in.
Gear and equipment, a computer or laptop, office or studio space, marketing, helpful courses, and special software are all valid options!
But one thing that you need right away is a website so prospective clients can find you and start booking with you, so you can get paid!
I know that your budget may not have room for a custom designed site yet, so I wanted to put together my top 6 tips to help you elevate a DIY website! Let’s dive in.
Choose a website platform known to be user friendly. If you’re not a designer, don’t waste your precious time on a site that requires custom code or steep learning curves. I recommend using Squarespace to DIY-ers and seasoned business owners alike for this very reason. Every page is drag-and-drop, using the platform is very intuitive, and it’s super affordable. Plus, I exclusively work with Squarespace for custom web design. When you’re ready for a custom site one day, you know where to find me. ;)
Make sure you have these 4 basic pages set up: a landing page (this is the home page that attracts your visitors), an about page (where people can read more about you), a page for your products or services (so we know what you’re offering), and a contact page (where prospective clients can submit inquiries). You may also choose to include a gallery or portfolio of your work on a separate page if it is not featured on your landing page or services page. A note on blogging: A blog is nice but not completely necessary right off the bat, so I recommend waiting to invest your time in blogging until after the other 4-5 pages have been created and finalized.
Install an attractive theme and customize it wisely. I recommend starting with a simple theme - the simpler it is, the less customization you’ll have to do yourself and the cleaner it will look. Don’t choose a theme that looks time and labor-intensive. The goal is to get your website up and running as soon as possible. You don’t need to spend money on a theme yet. You have plenty of time to upgrade your site in the future, and there are lots of free themes that are absolutely gorgeous to choose from!
If you decide to change the fonts, keep it simple. In the Squarespace styles tab, you are able to select and change default fonts. I recommend choosing no more than 3 fonts total so that your website doesn’t look too busy: a nice serif font for titles, a light-weight sans-serif font for normal text, and a heavier version of the sans-serif font for headlines. Make sure to choose something easy to read yet classic in appearance. Stay away from extravagant cursive or childlike fonts.
Make sure your social media handles are linked as buttons. Squarespace makes this so easy! Simply connect your social media pages to your website, then add the buttons to the top or bottom of your web page. This is free marketing! When people stumble across your website, they’ll be able to find your social media channels and follow you other places online.
Include on-brand images on every page of your site - especially your about page! GASP! Yep, I’m talking about headshots. When prospective clients can make a connection with a photo of you, they are much more likely to book your services. I know, I know. Sometimes it’s easier to be behind the camera than it is to be in front of it. But as photographers, we have to practice what we preach! Plan to invest in a brand photography session early on and get some nice photos taken of yourself to use on your site and social media profiles. Keep an eye out for a future post that’s coming soon - “How to Prepare for a Branding Photo Shoot!”
Still unsure of what you should be including on the homepage of your website? Don’t worry, I’ve got you covered there too. Enter your info below to download your free copy of my workbook: Homepage Without The Headache. You’ll get 4 tweaks and formulas you can use to make your homepage super effective and start building profit into your business now.

What’s your biggest takeaway from this checklist? Did anything surprise you? Do any of these scare you a little? Let me know in the comments below! I’d love to discuss it with you.